前言
Vscode Python Windows环境配置
安装Vscode
安装Vscode插件Python
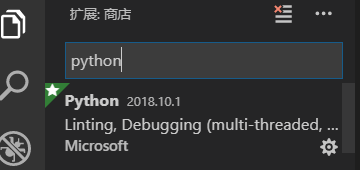
安装Python3
配置
启动Python项目的工作区, 例如
1 | mkdir hello |
选择Python解析器
按下ctrl+shift+p 调出命令面板, 键入python: select interpreter, 选择该Python项目的Python解析器
与在settings.json的工作区中设置python.pythonPath相同
1 | "python.pythonPath": "E:\\python\\python.exe", |
运行Python程序
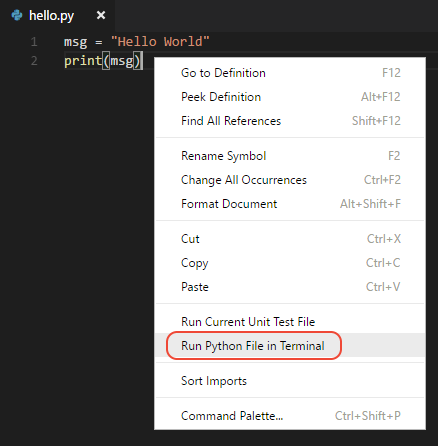

配置Python调试器
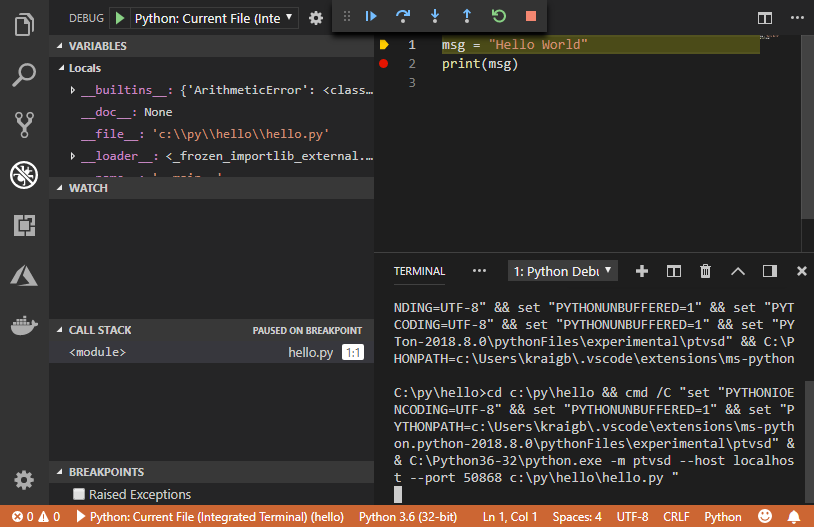
先设置断点

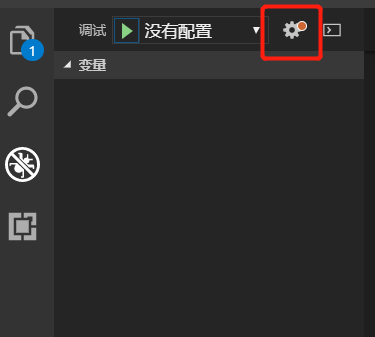
点击左侧的调试

点击小齿轮设置
launch.json(会自动生成launch.json模板, 下拉框选第一个Python: Current File (Integrated Terminal)就好了)
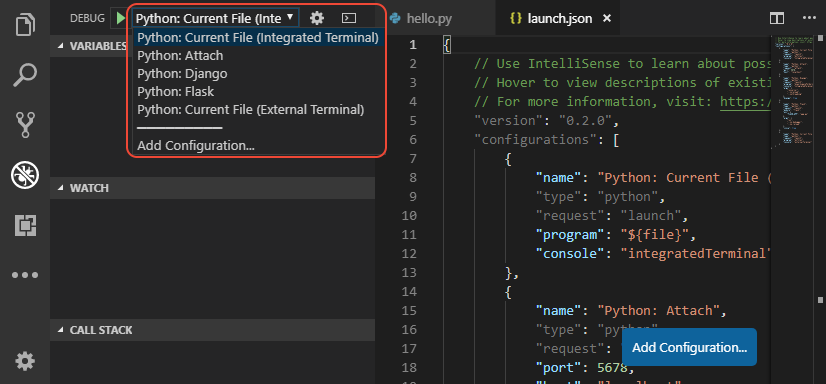
如果想在调试的时候, 让程序停在程序运行前, 可以再launch.json中加入stopOnEntry: true
1 | { |
- 然后按
f5即可进行调试(可以单步调试等等, 更多细节可以看 python调试)
安装linting
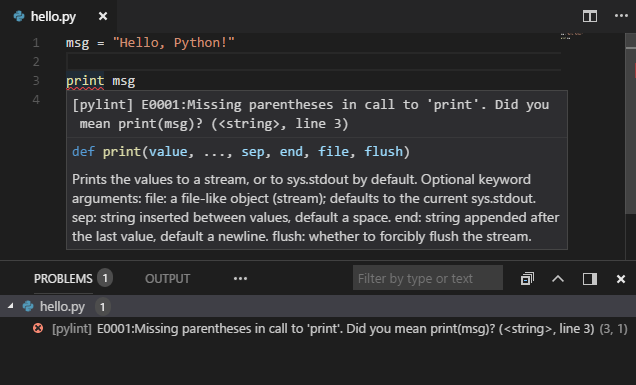
Linting突出了Python源代码中的语法和风格错误
- 先使用命令行, 键入如下命令
1 | pip install pylint |
- 然后在工作区的
settings.json加入如下
1 | "python.linting.pylintEnabled": true, |
- 效果图
更多细节查看Linting Python in Visual Studio Code
单元测试
可以使用python内建的unittest, 或者pytest或者nose(自行安装即可)
例子:
比如使用unittest, 则在工作区的settings.json加入如下:
1 | "python.unitTest.unittestEnabled": true, |
- 创建
inc_dec.py
1 | def increment(x): |
- 创建
test1.py
1 | import unittest |
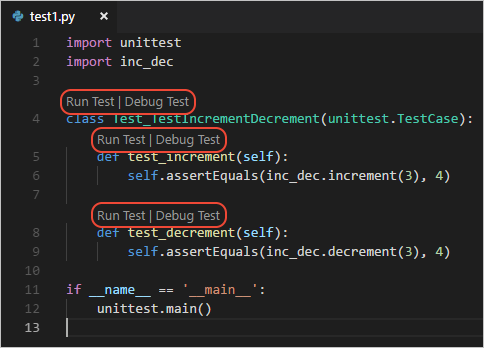
- 当使用
unittest时, vscode看起来会是这样的(emmm, 单级工作区才能这样看到, 太多文件夹貌似不行…)
更多单元测试细节可查看Python unit tests in Visual Studio Code

